Thank you.
Do you have this for 480x272 resolution?
Welcome guest, is this your first visit? Click the "Create Account" button now to join.
Results 1 to 10 of 27
-
26th January 2018, 09:01 AM #1
 Alternative Menu for devices running under WindowsCE
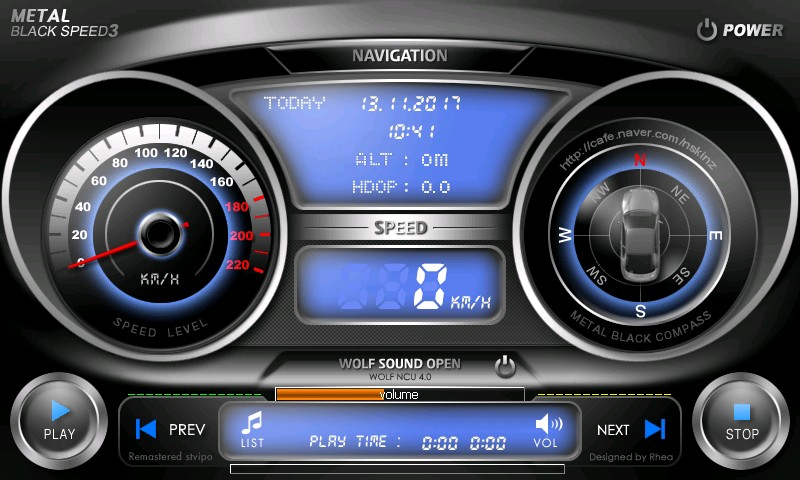
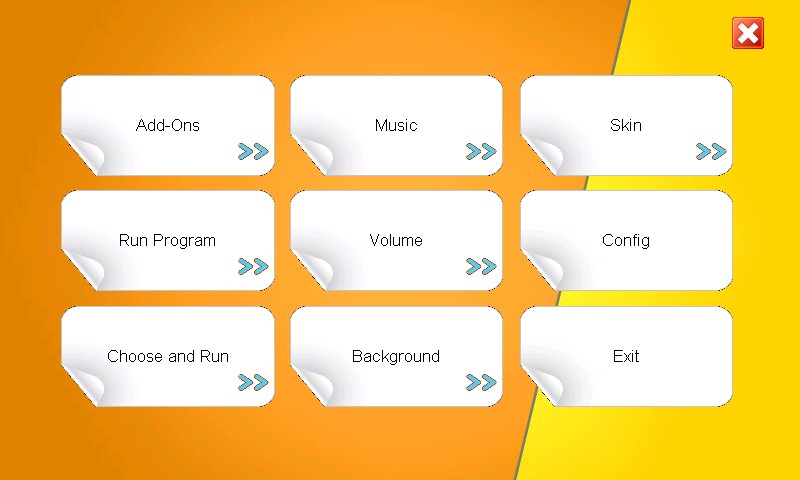
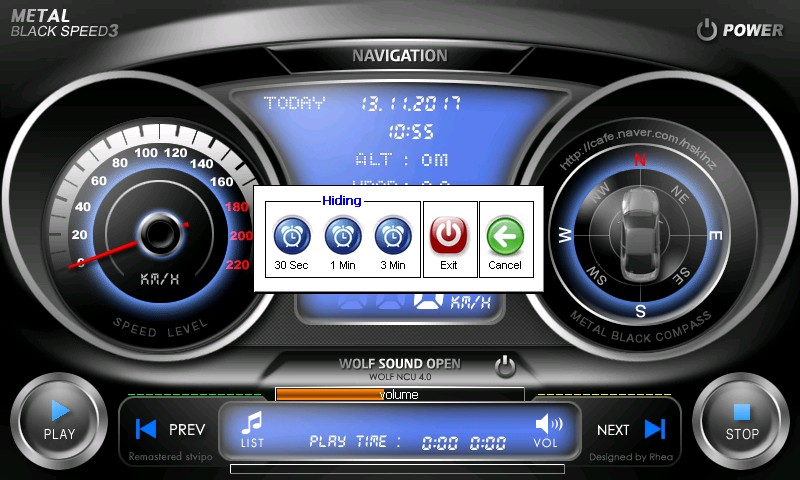
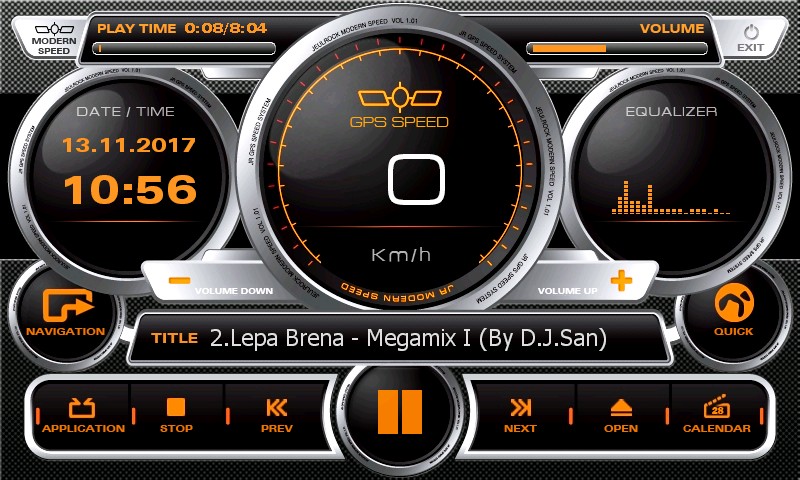
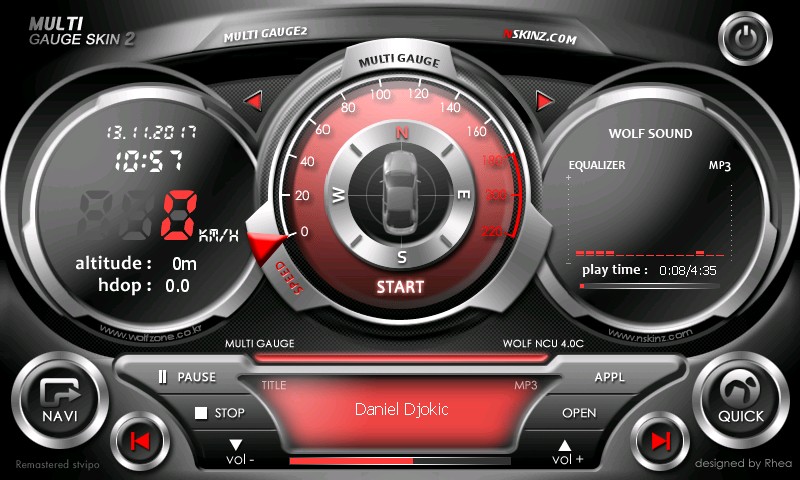
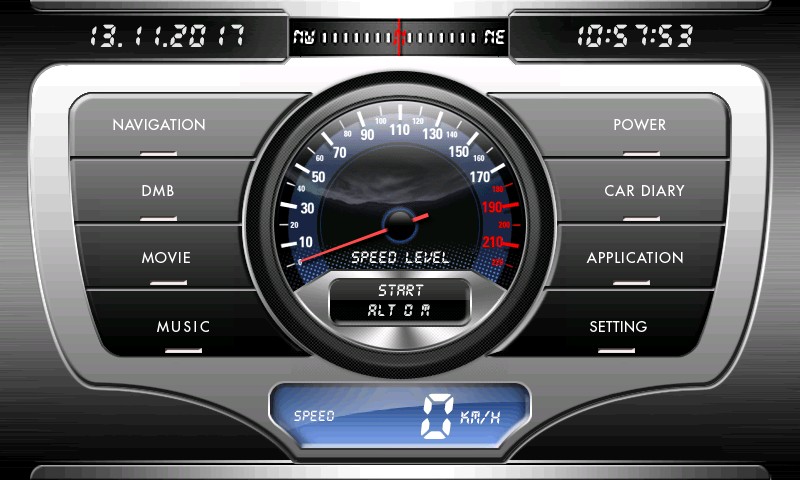
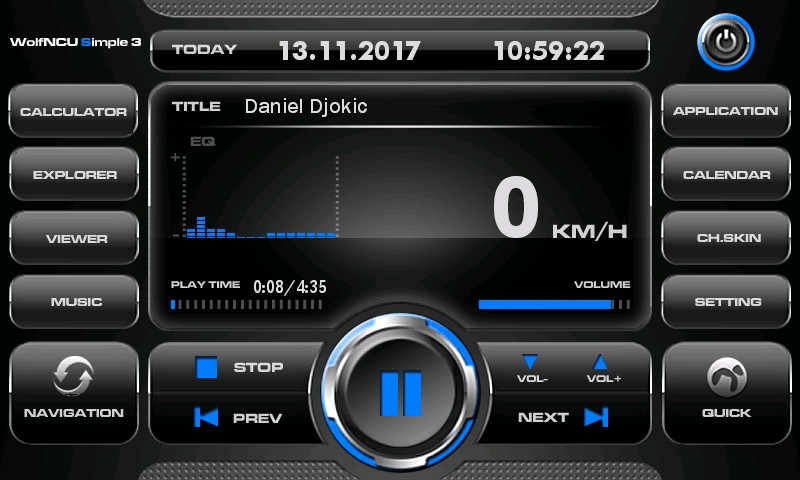
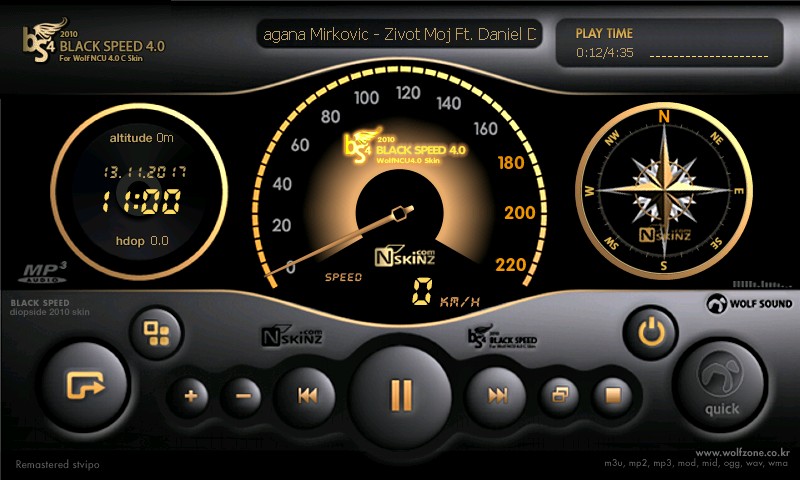
WolfNCU version 4.1f- Alternative menu for devices with WindowsCE:WolfNCU is a program that does not change the basic interface of your device but just adds it.
[Only registered and activated users can see links. ]
Allows the use of different WindowsCE software including navigation programs.
You can have one, two or more navigation programs and use them if necessary, but only for one, that is default, WolfNCU disables / excludes, disconnect / GPS receiver, to use it from navigation!
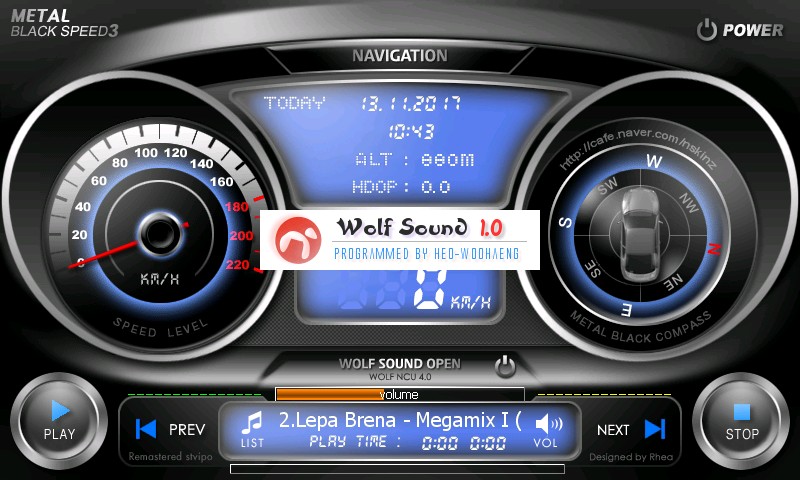
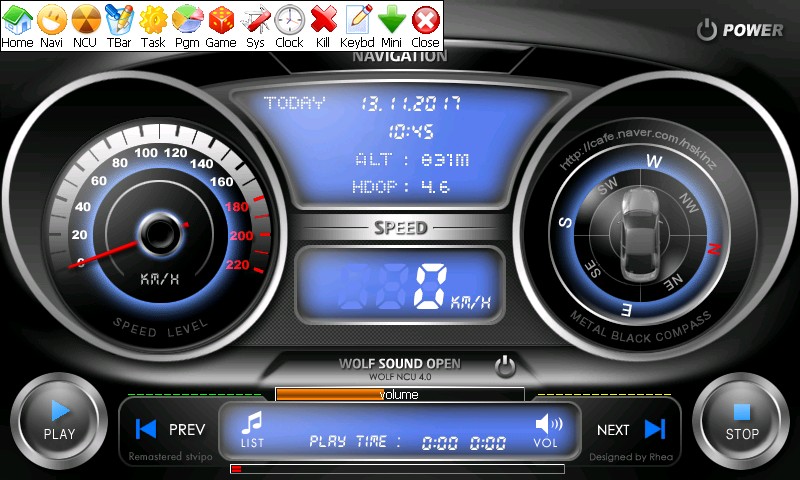
WolfNCU gives you information on the speed, direction, altitude and in the 4th version is a built-in mp3 player.
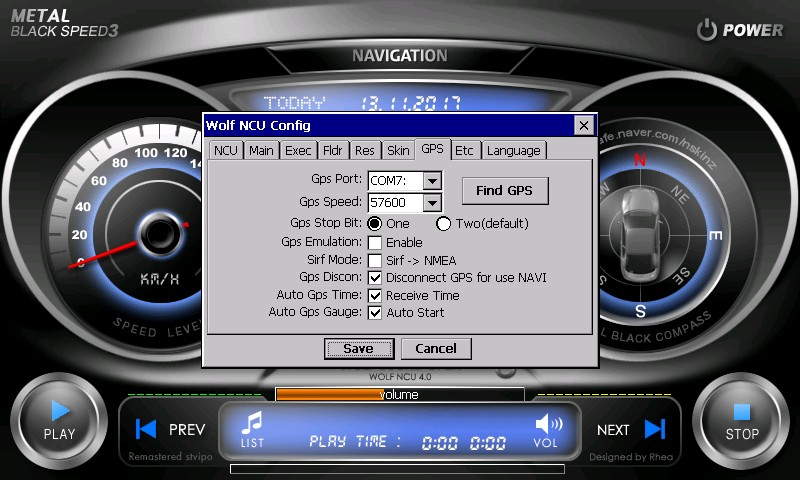
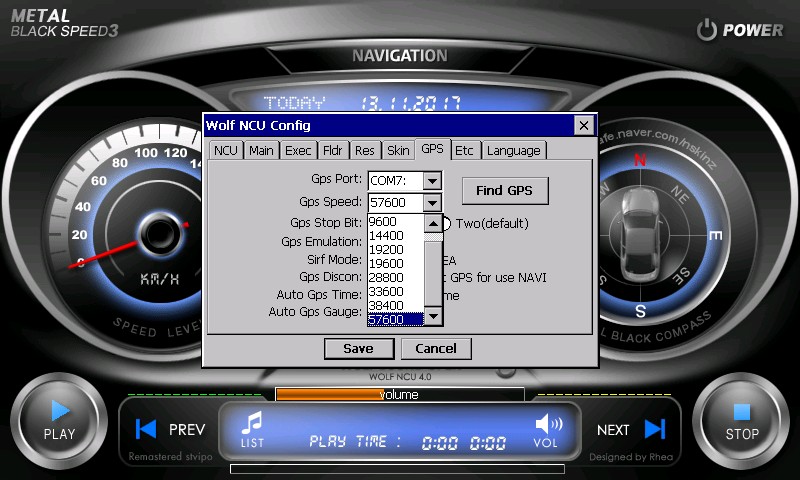
Currently, this is ready and tested compilation for device with name of internal memory SDMMC, GpsPort=COM7, GpsSpeed=57600, ARM processor and screen resolution 800x480.
Installation method:
1. If the specifications on your device ( SDMMC, GpsPort, GpsSpeed, processor and screen resolution) match the above, must be copy the entire contents of a folder "This folder is SDMMC" in the root directory of your device.
2. Of your device set the path:
SDMMC\WolfNCU\WolfNCU.exe
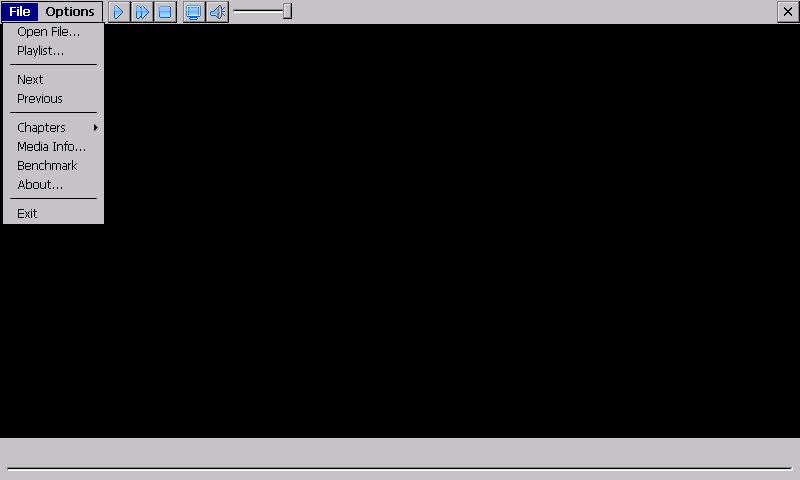
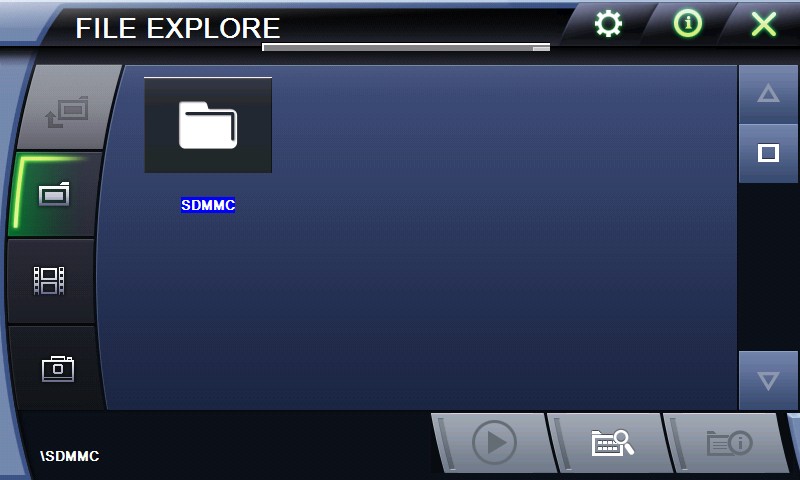
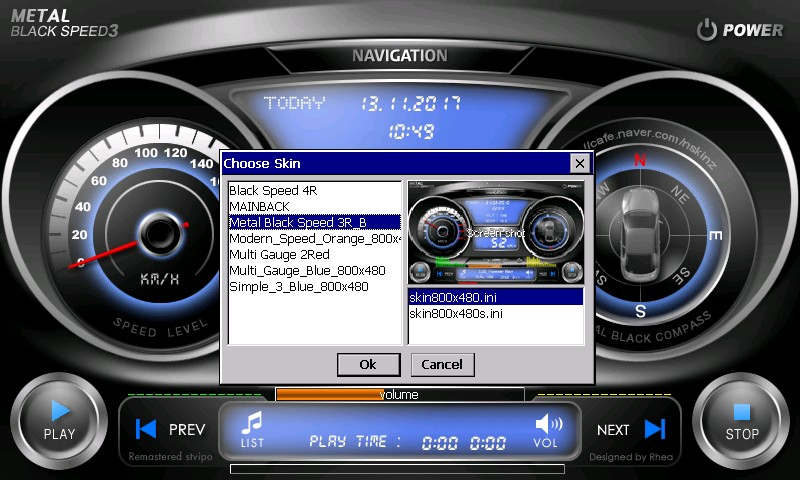
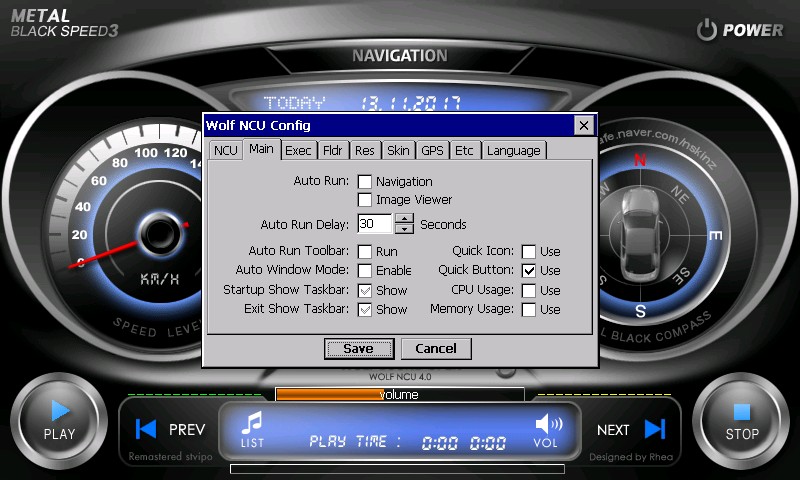
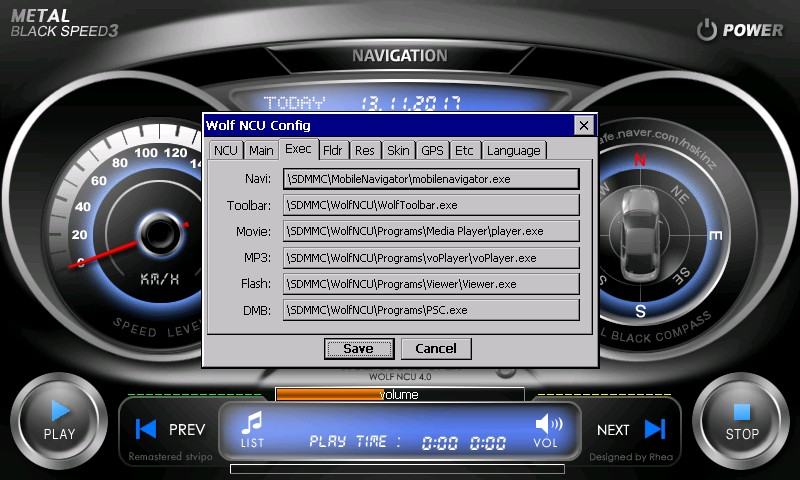
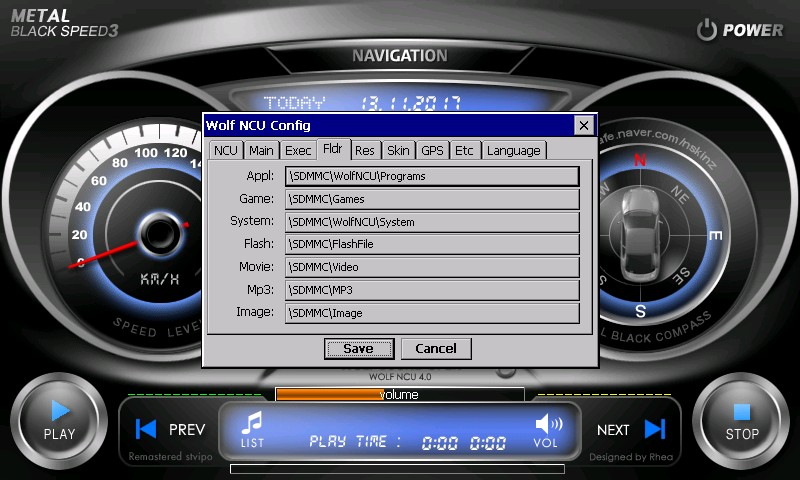
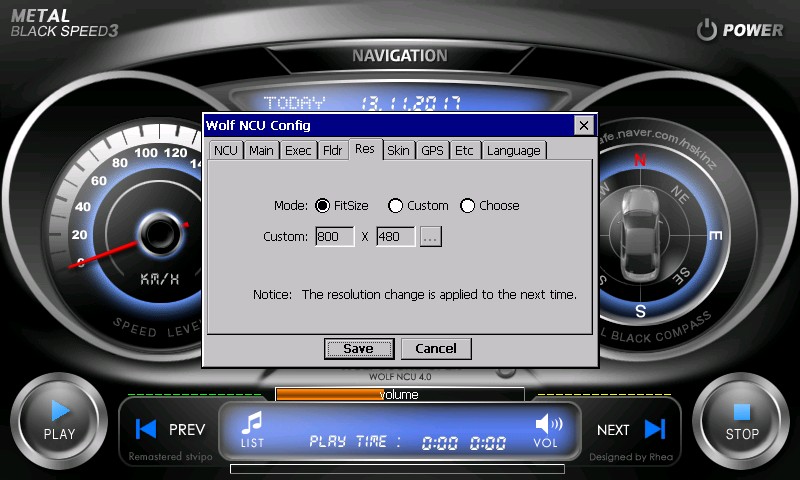
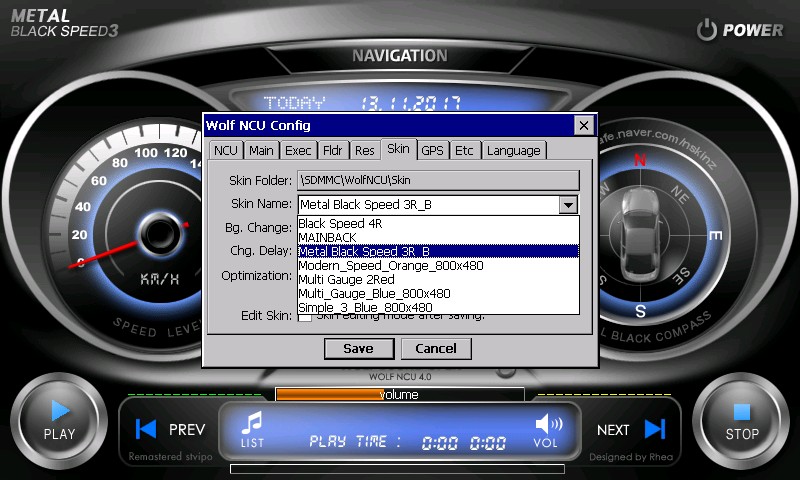
Spoiler: Screenshots
3. Put your navigation software into a folder "MobileNavigator" as the executable file rename to do so "mobilenavigator.exe"
4. In the folders Image, MP3 and Video you can copy media files, as for their auditioning viewing, use built-in players (programs)
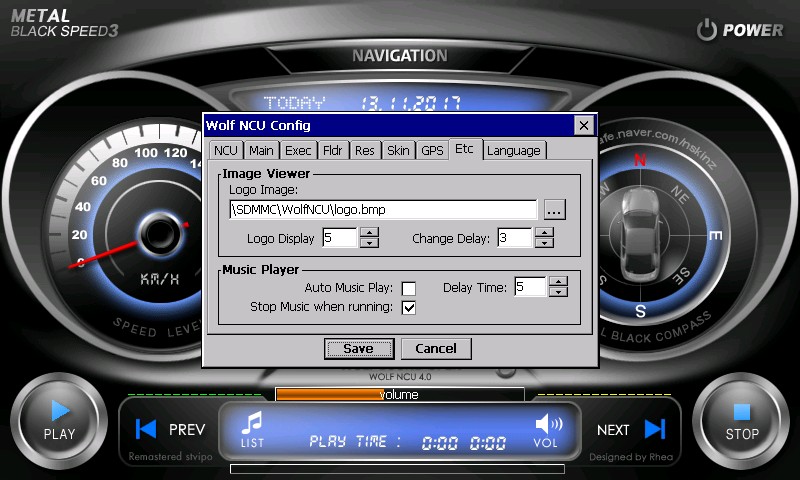
Everything (name of internal memory (SDMMC) GpsPort, GpsSpeed) except model of processor and screen resolution can be changed according to your device in the files with extension .ini, situated in the folder WolfNCU!
For the different processors are needed different files .dll (libraries) which you can acquire, if use the file wolfplus_v4.1f.exe to install the required version of the program.
Installation method using installer wolfplus_v4.1f.exe:
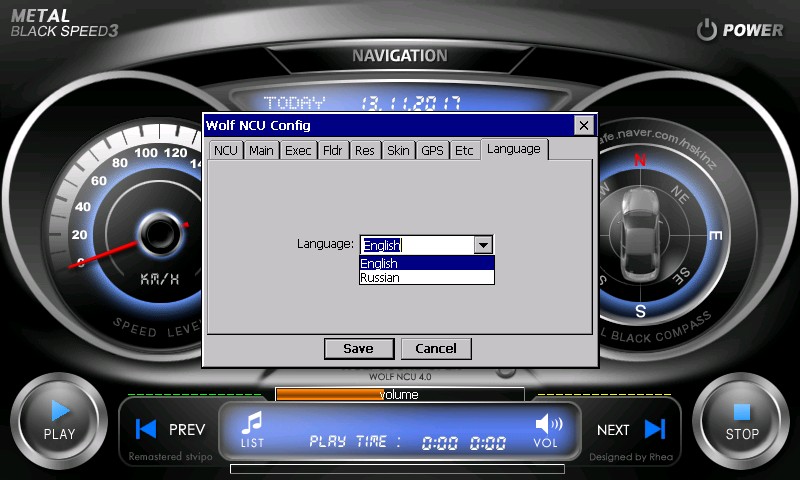
1. Start the EXE file and choose a language - The default is English
2. Set the path to the memory, where you will install
3. Choose "Full installation" and the type of your processor - This step is important because EXE copies the different .dll files for the different processors:
a) ARM b) MIPS CPU c) PC / intel / amd / cpu
4. Set the path to the appropriate programs - if any. If the programs are added later, the paths are done by .ini and can also be from the menu of the already installed WolfNCU.
5. Uncheck the option "Whether to replace the file"
6. Running the installation and Finish
7. After Finish must be copy the folder Skin from:
This folder is SDMMC\WolfNCU\Skin
and replace the existing one, because it is empty!
After finishing, you must change all values in .ini and set yours!
By default, they are GpsPort=COM2 and GpsSpeed=9600
There are skins for other resolutions, except for 1024x600 and if necessary, I will post them.
Spoiler: Other Screenshots
Spoiler: Download
Thanks to eazy from 4pdaLast edited by Boki; 25th March 2024 at 05:55 PM.
-
26th January 2018, 11:12 AM #2
 Do big things!

-
26th January 2018, 11:39 AM #3

Hi.....
Yes
These are just skins for 480x272. They do not work on their own and need to have the files in the post #1!
Unzip and copy all files from folder 480x272 in folder:
WolfNCU\Skin
Spoiler: Skins for res. 480x272
Regards.....Last edited by railroad; 2nd June 2019 at 08:37 AM. Reason: Update link.....
-
26th January 2018, 07:31 PM #4

Good work,
Do you have one for 320x240
Thanks in advance.
-
26th January 2018, 11:10 PM #5

Hi.....
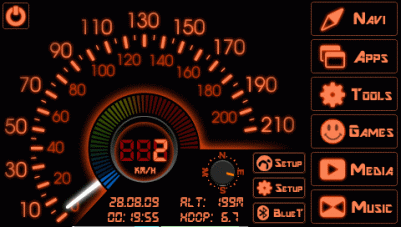
For 320x240 I have only one skin
Spoiler: screenshot
It is not easy, but it is not impossible to modify the skins of 480x272 for 320x240.
Needed one PNA or PDA with 320x240. Modify all icons proportionately. Modify all files with extension .ini for to fit the icons on the screen and much patience
The same applies to resolution 1024x600.
Spoiler: Download the skin for 320x240
Regards.....Last edited by railroad; 28th January 2018 at 09:04 AM. Reason: adding screenshot
-
28th January 2018, 09:02 AM #6

Skins for 480x234
Download 480x234.part1 and 480x234.part2
Unzip only 480x234.part1. 480x234.part2 is self-extracting, as part of the first archive!
Spoiler: Part1
Spoiler: Part2
-
28th January 2018, 11:02 AM #7

Better explained can not be, I've been using this program for many years and I have created my own skins, now I have it a little forgotten because I have gone to Android, but I've never been able to get the analog speedometer working, that's why I only used skins with digital speedometers.
Spoiler: Image 480x272
Do you know why the analog speedometer may not work?Last edited by bruxco; 28th January 2018 at 12:05 PM.
-
28th January 2018, 01:52 PM #8

I don't know..... Download the program from the first post and try it out or send me your program to look at her.
-
8th April 2018, 09:34 AM #9Junior Member


- Join Date
- Aug 2008
- Location
- singapore
- Posts
- 6
- Rep Power
- 0

Do you have a method to get to CE desktop? My device (China-generic unbranded) does not have the setting path to get into the CE. It does have a GPS card slot with the SD card containing the GPS program. I believe mine is CE6.
-
8th April 2018, 10:20 AM #10

Hi..... How to get into Windows CE mode.....
1. Create a text file with name YFGo2CE.bld. The file's contents can be anything but must be at least 1 byte.
Alternatively you can download it this post......
This post requires you to click the "LIKE this post" button and hit F5 to read this content.
2. Copy the file YFGo2CE.bld in the root directory of the SD card
3. Power off (not sleep) the GPS, then switch it back on.
If this method does not work for you and you are not using the original 2GB SD card that came with the GPS, try again using the original SD card.
Other users have reported that this does not work on some SDHC cards.
Regards.


 Likes:



 Reply With Quote


Bookmarks